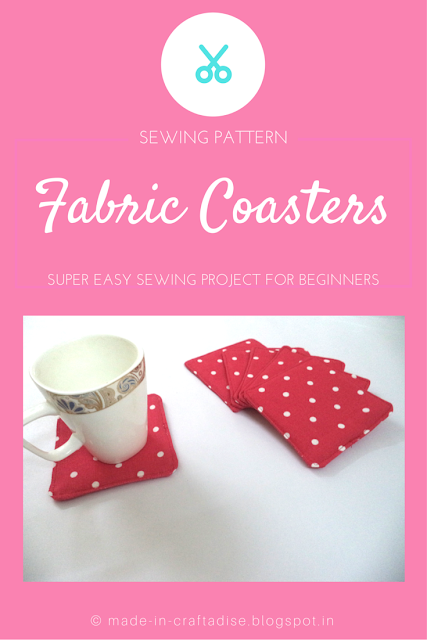
It's been quite long since I posted a sewing project. This was perfect since I received an order on the same from my friend. I wanted to post on this as it took me approximately less than 2 hours to complete the entire project from cutting the fabric to finishing. It is a great project for beginners learning to sew straight lines and great for ones who want something new and fresh looking for their tables when guests arrive :) So here's a super easy Fabric Coaster pattern.
MATERIALS REQUIRED:
- Cotton Fabric {I used canvas fabric} - half a yard or less
- Interfacing or flannel
- Fabric marker / pen
- Scissors
PROCEDURE:
WRITTEN INSTRUCTIONS: (for one coaster)
- Cut the main fabric - 2 nos. - 5x5 inches
- Cut the interfacing / flannel - 1 no. - 5x5 inches
- Place the fabrics right side facing each other, and place the interfacing below these.
- Sew the entire piece with 1/2" seam allowance {for beginners learning to sew} / or 1/4" seam allowance for others ; do not sew at-least 2" to 2.5" on one side. {If you find the extra fabric to be thick, then trim the excess around the sewn edge}.
- Turn the fabric inside out through this gap, press and push the corners, fold the seam allowance on the gap and iron it.
- Finally, sew the gap and all around with 1/8" seam allowance. {I continuously did this by sewing from beginning of the gap and top-stitching all around and then finishing where I began}.
TOP-STITCHING VIDEO:
FINISHED DIMENSIONS:
4" x 4" - if you used 1/2" seam allowance.
(or)
4.5" x 4.5" - if you used 1/4" seam allowance.
NOTE:
If you are a beginner, then please draw using a fabric marker or pen on the actual seam to be stitched on to get better results. {I still draw lines ;) }
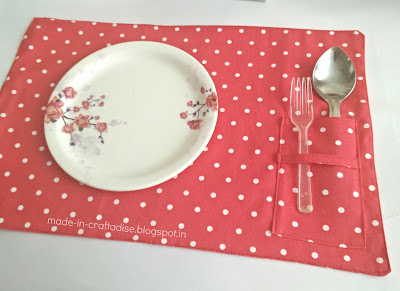
And there you have it. You're very own Fabric Coasters sewn and ready to use. With this same technique, you can make a Placemat (without the interfacing/flannel). I have done one using the same fabric to match these.
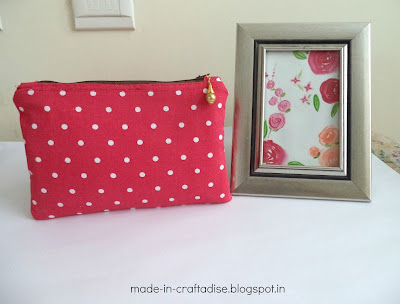
And guess what. I also made a cute purse to carry all my crochet hooks and needles :) Isn't it cute.
I have some more fabric left and I am thinking of making another purse :)
Did you like the coasters pattern, the placemats and the purse? If you have any queries, please leave a comment below and I'll definitely get back to you. Keep practicing, stay safe, keep smiling. Have a wonderful week :)


No comments:
Post a Comment
Thank you for taking time to stop by. I would love if you leave some inspiring comments about the post. To avoid spam and unwanted users from leaving a comment, your comment will be verified and posted in sometime. Thank you :)